Disassembly
The coin door was another area of mess. It was complete but a little rusty, thus I brought it to my workbench, took a bunch of pictures, and disassembled. As an aside, I use ice cube trays for my parts when I’m doing things like this, a trick I learned watching Youtube restoration videos from creators like OddTinkering.
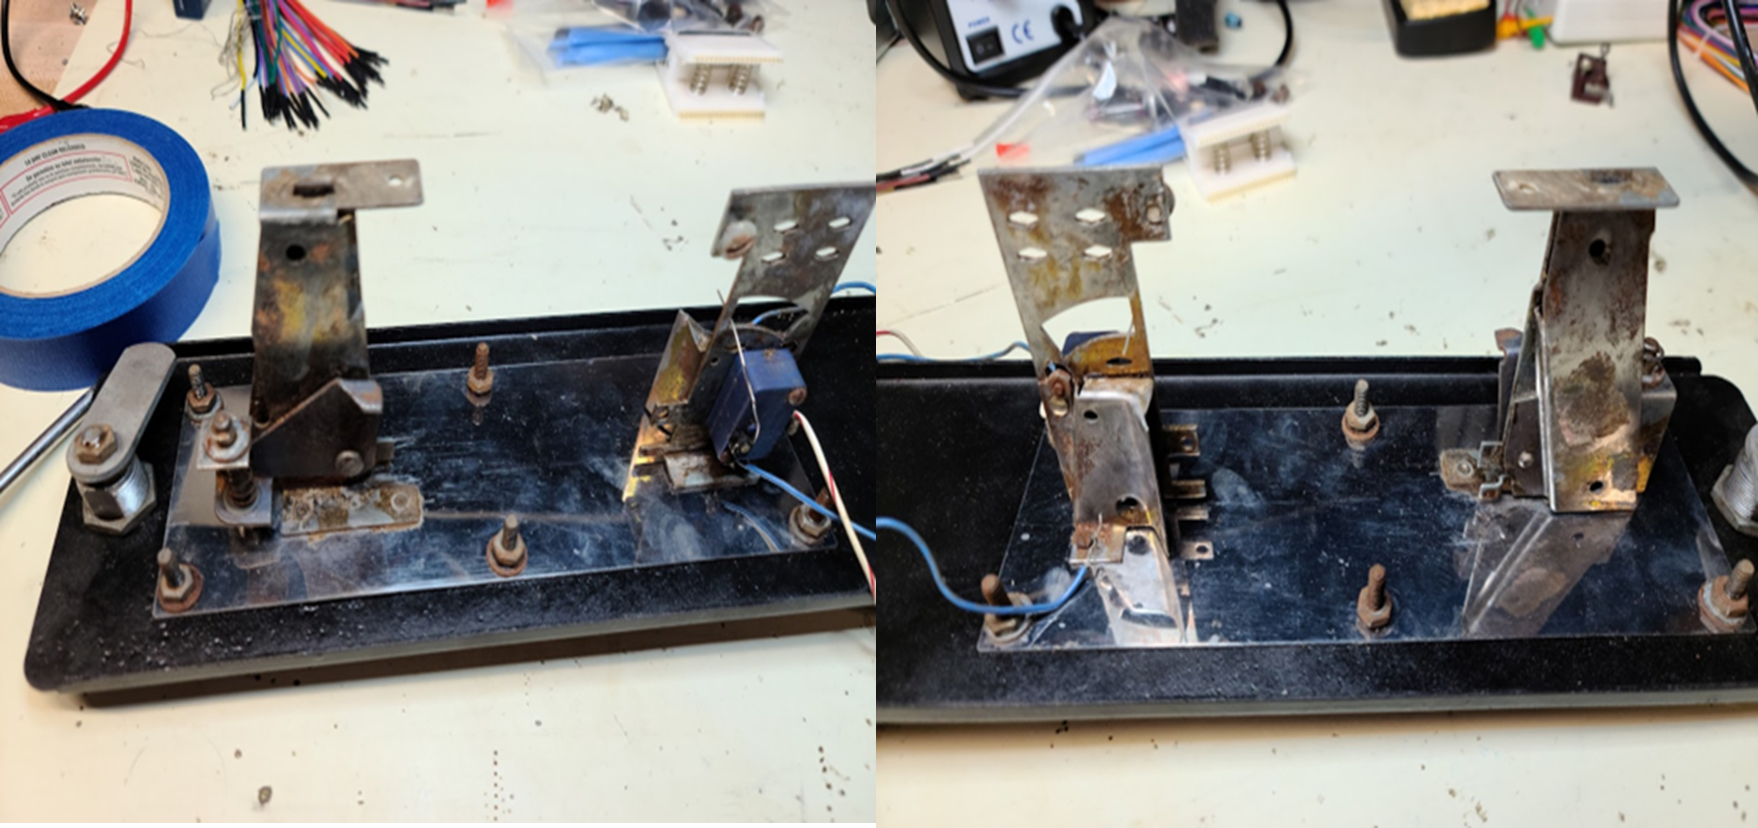
Figure 24: Back of the Coin Door. A little rusty….
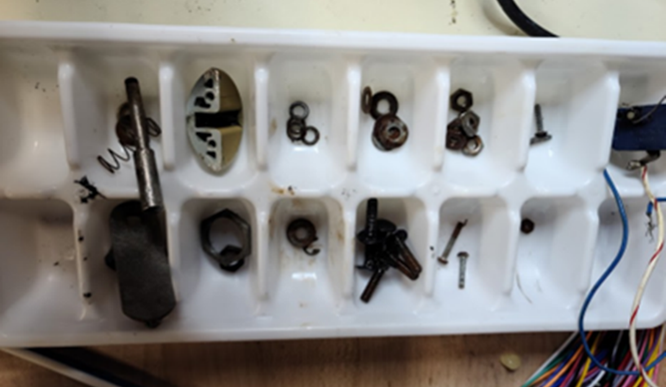
Figure 25: Ice cube trays make excellent organizers during rebuilds…
After disassembly, I took all of the metal pieces and soaked them in Evaporust for a day. I removed the lock (going to replace anyway), cleaned off the main metal piece (the front plate), and decided not to repaint that (it looked relatively fine, and original so far as I can tell). I also cleaned off the weird, seemingly chromed piece with orange spray cleaner. Most of it was going pretty well, except….
The Coin Cup
….if you look closely at these old Atari coin doors, you notice that the coin return is based around a small “cup” where the rejected coin sits until taken out. That original cup is a molded part, and held to the panel with two small screws. Unfortunately, when I took the original off it started to crack and fall apart in my hand, likely just the result of long-term exposure, fatigue, etc… Fortunately, I took the part to my local friendly machinist and 3D printing expert, and he was able to scan it, clean that scan up, and print a new one. The file for that print is here. Unlike the original, which is partially hollow, the new piece is solid. We drilled some small holes to allow for the mounting (using self-tapping screws) and mounted it. I really didn’t have a good official company picture of an original machine with sufficient detail on the coin door to know what the paint should look like, so I left it as-is in gray (the material it was printed with). Another collector sent me this picture as a guide, however:
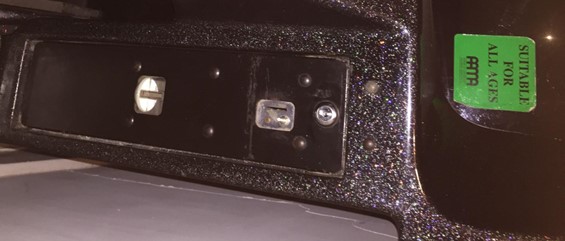
Figure 26: Picture of Coin Door, provided by another collector
I put the door back together with the cleaned up parts, and the new coin cup. I also installed one of the plastic Atari coin mechs from that time, and made a new harness per the Atari manual. The lock is a new one I picked up from Bob Roberts, where I get all my locks (so they are keyed alike). I think it turned out pretty well, but if you’ve got better shots of a truly original door, I’d love to see them so I can tweak as necessary!
Coin Door Harnessing
Of course, whatever bit of harness the old door had was garbage, so I made a new one. Given what was/wasn’t there I created a new schematic for the cockpit coin door harness based on the upright one. I wired this with some Wirefy crimp connectors, decent stranded wire, a 12 pin Molex female shell and male pins to interconnect with the existing main harness. And yeah, I grounded the coin door plate, and used an adhesive zip tie tiedown (similar to these) to strain relief the whole thing to the door.
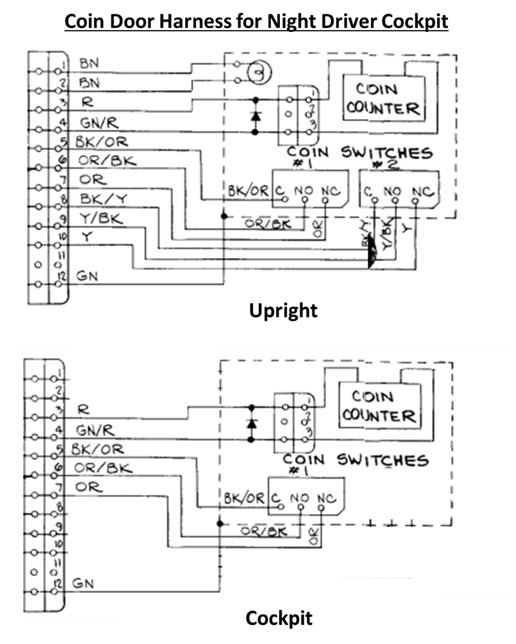
Figure 27: Coin door harness. The manual version is for the upright (top), and I modded it to reflect just one coin slot for the cockpit (bottom).
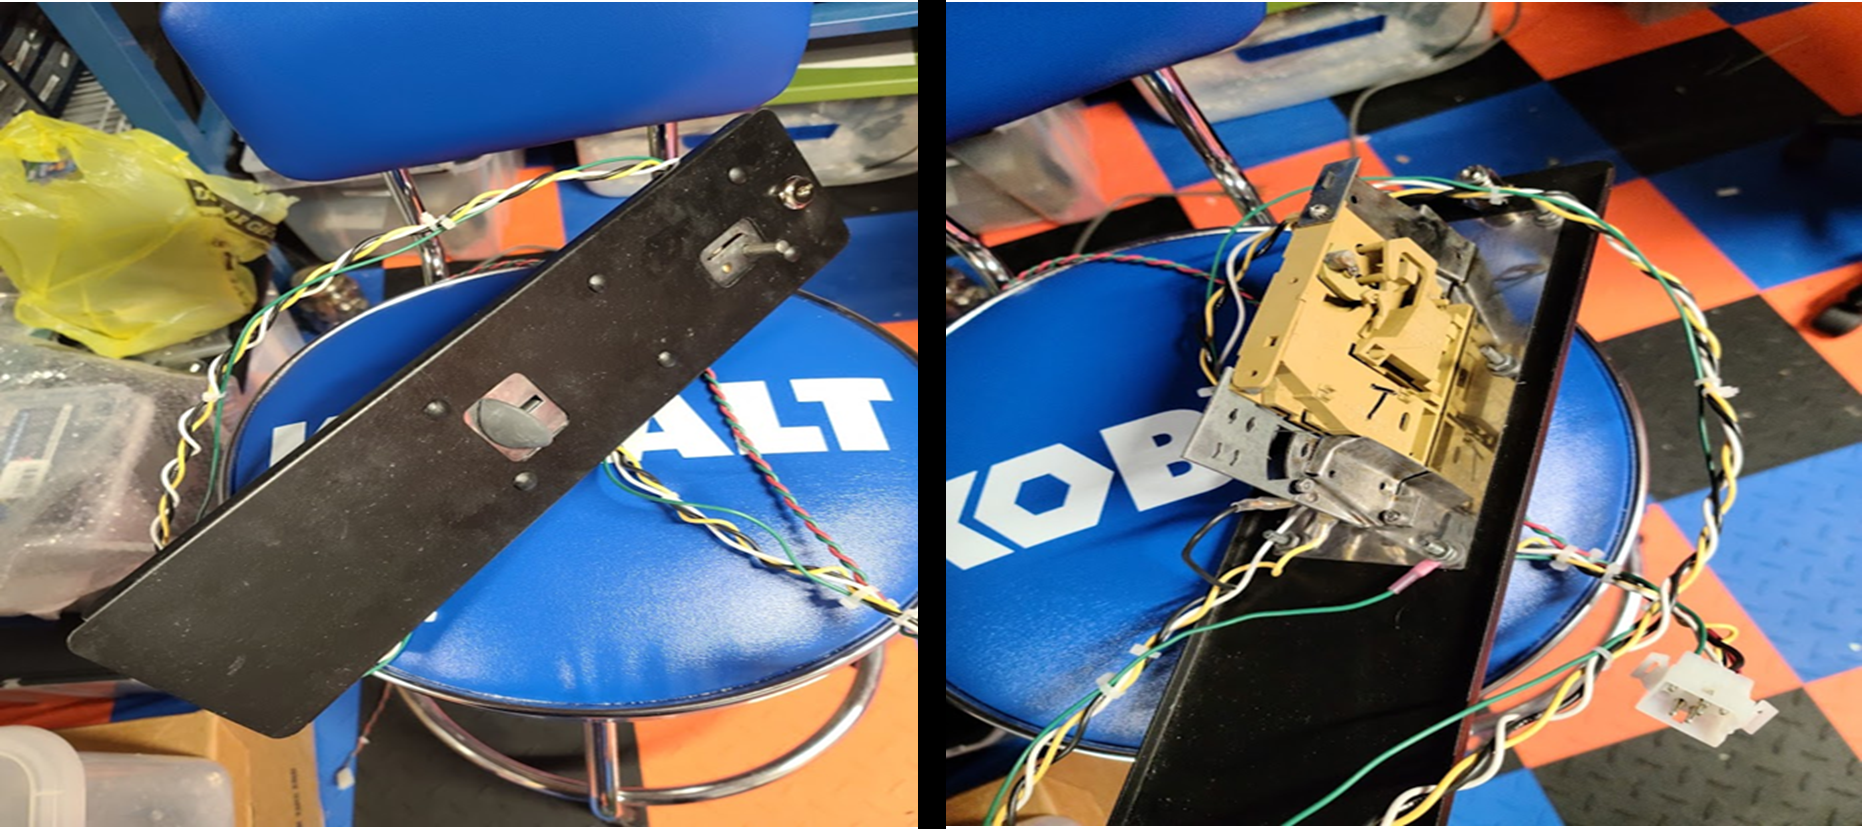
Figure 28: Coin door finished, ready to be installed!