Introduction
Hey all, my name is Mitch, and I have been collecting and restoring coin operated equipment (particularly video arcade games) since the late 1980s. I’m pretty serious about my collecting, and at one time the hoard grew to about 150 machines. I’ve done some curating since then, and am now…
An Ugly Baby
About a year ago, I started casually looking at the machine. For such a beautiful cabinet – boy, was it a mess. It had been converted to a Pole Position knock-off called Top Racer, and not in a good way. The monitor was replaced with a G07, harness replaced, power…
Deconversion: The First Steps
The first step was deconversion, which included: Pulling the huge PP stickers off the sides. For this, I used a heat gun on low to loosen up the adhesive. It peeled off, slowly but surely, as I worked the heat back and forth at the seam where the sticker was…
The Monitor
As I mentioned, the monitor in the machine that I picked up was a G07, which is a color 19” typical of a lot of games of that era. The ND cockpit, from everything I could tell, used the standard 23” B&W monitor. I went to my stash and pulled…
Shifter Panel
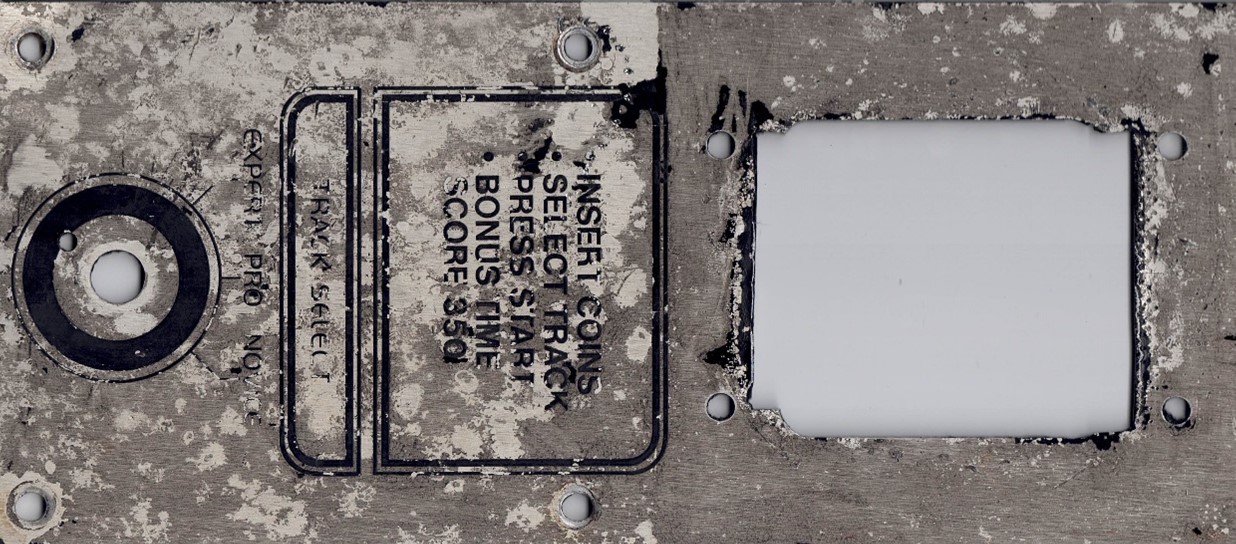
The ND cockpit has a shifter panel on the right-hand side that is supposed to support both shifting and game selection. When I took mine off, however, it was a huge mess: someone had removed the game selection control AND cut out the shift control hole in the panel to…
Pedal Assembly
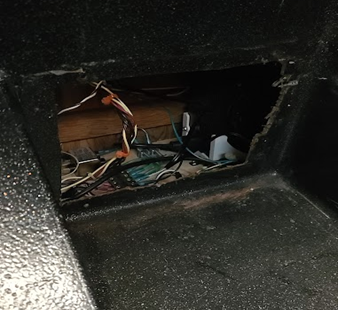
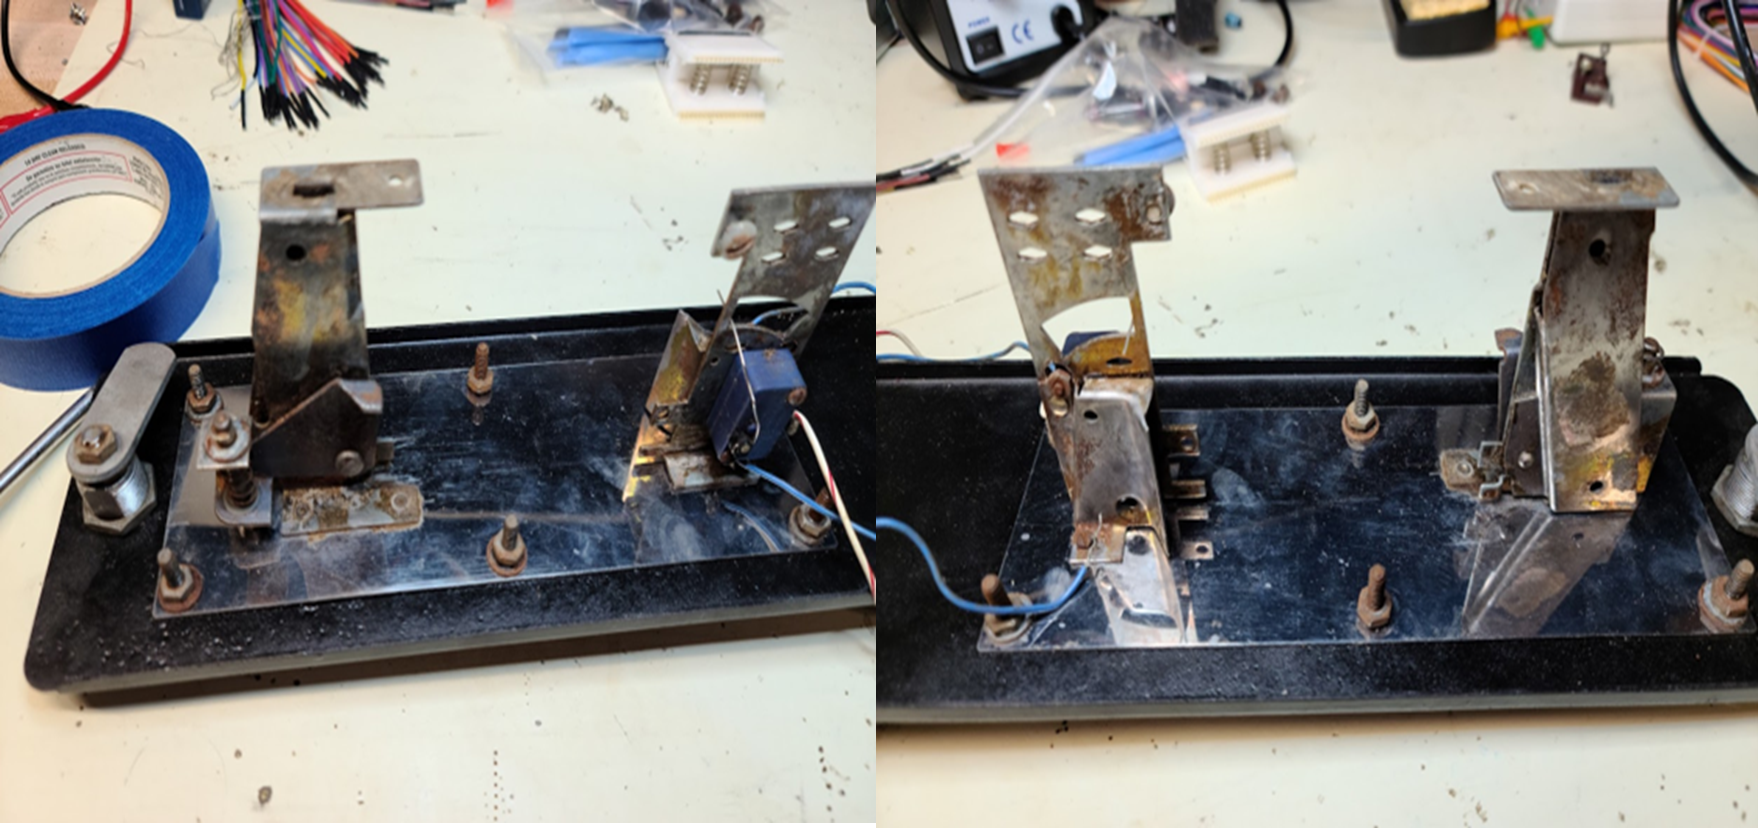
The pedal assembly that came with the machine was some sort of aftermarket conversion deal that had been unceremoniously cut into the original cab. After removing it, there was an irregular looking hole - not good: Figure 19: A rough and janky hole. No jokes here, please! From what I…
Steering Panel
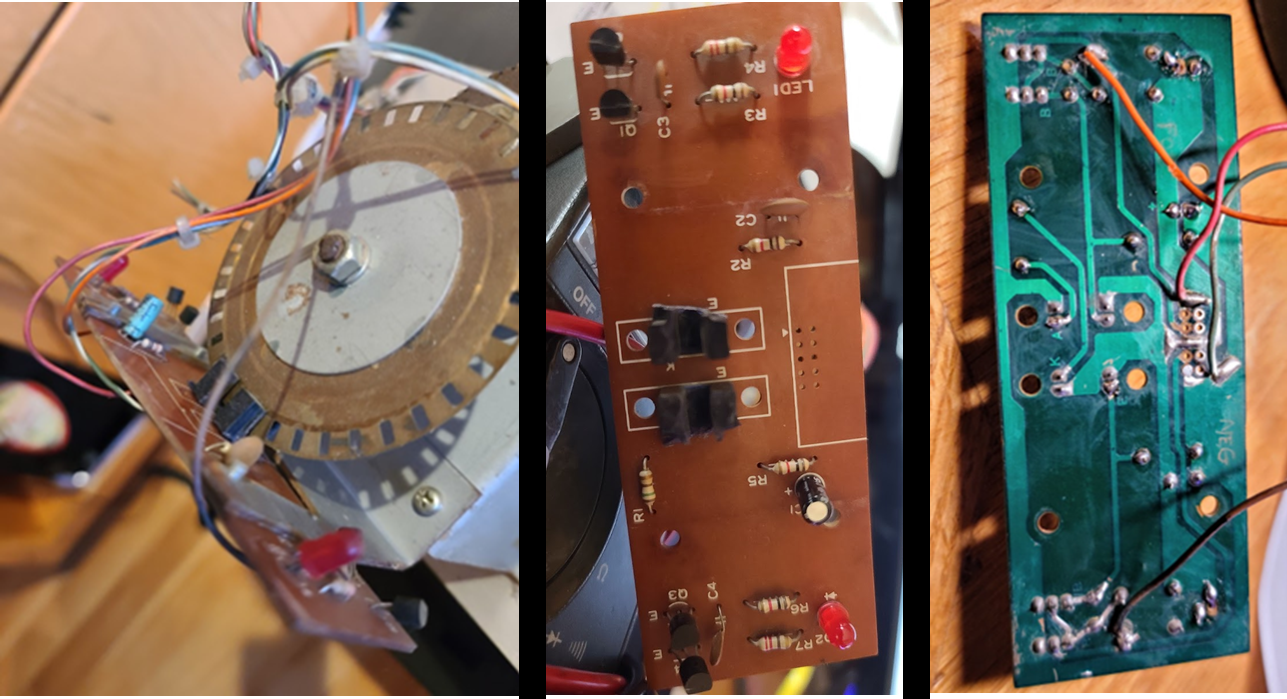
The Mechanism Where to even begin on this one? At first I thought maybe this was complete and in good order other than having someone attach the wrong wheel. After all, it has the Atari panel, and the Atari button, and fit the cabinet. Must be generally ok…right? Red Herring…
The “Brains”
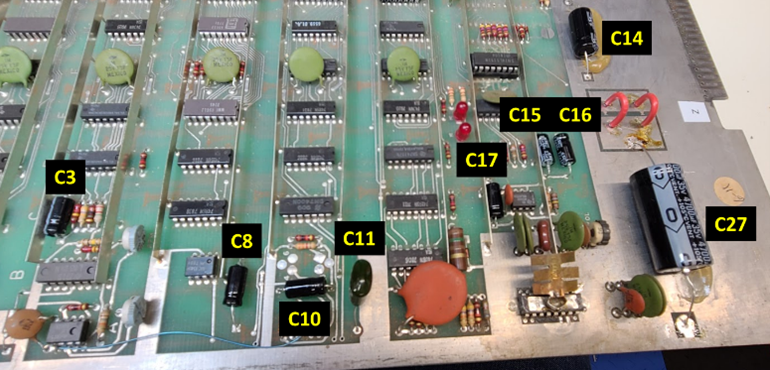
One of my core values when restoring games is that, ideally, it should be running the original hardware – not as much the power supply, but rather, the CPU/game PCB. I thus wanted to get an original ND PCB repaired and ready for the machine. My stash of boards and…
Power Supply
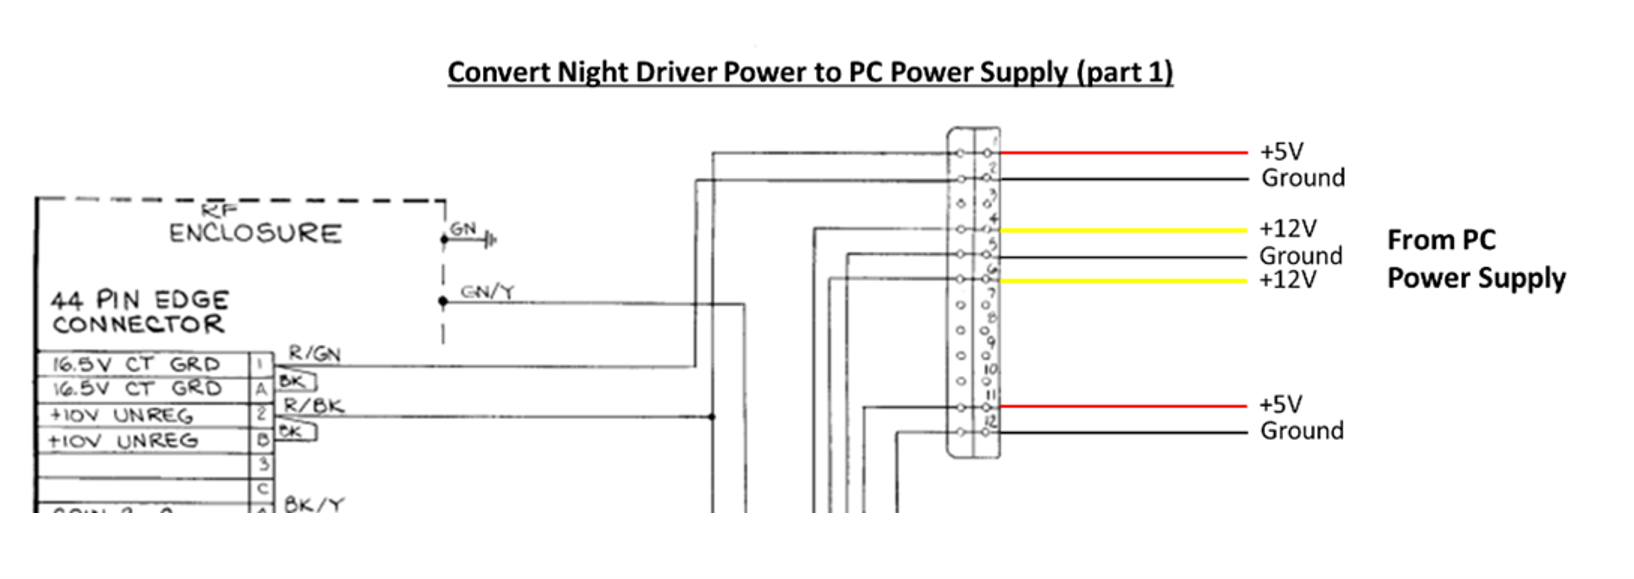
I’ve always been a fan of rebuilding the original power supplies that came with these machines – linear supplies are clean, easy to work on, make sense, and just have love. As time has worn on, however, it’s becoming increasingly clear that protecting the electronics on the motherboard by ensuring…
Can You Hear Me Now (The Audio)
If you look at the wiring diagram in the ND upright manual, you see that that version of the game uses two parallel ganged 8-ohm speakers. It’s not really stereo – it’s a single channel projected out through two speakers. For the cockpit, there is one large speaker, and it…
Monitor Plexi
Now, in terms of the plexi itself, it was ROUGH. And I didn’t take pictures while I was working on this one, do it’s hard to do this justice. Let’s describe it as: many light scratches combined with someone having carved their name in one corner. I considered getting a…
Integration: Getting the Parts Inside
Getting everything into the cabinet wasn’t too bad. First, we got the monitor in and bolted down. This sounds easy but when you see the situation it looks like there is no way that 23” monitor will fit in there. It turns out the trick is that you really have…
Mistakes Were Made
Prolog: Can’t Get it (the logic rail) Up! Aw man….. So, I got to the point where I was testing the PCB in the game, a whole mess-o-stuff came to light. What started to unravel this whole ball of wax was when I plugged the game PCB into the harness…


