The first step was deconversion, which included:
- Pulling the huge PP stickers off the sides. For this, I used a heat gun on low to loosen up the adhesive. It peeled off, slowly but surely, as I worked the heat back and forth at the seam where the sticker was coming off from the machine. Amazingly, the original ND side art stickers were still under there, and not in terrible shape! The seat sticker was missing, but still – very lucky!
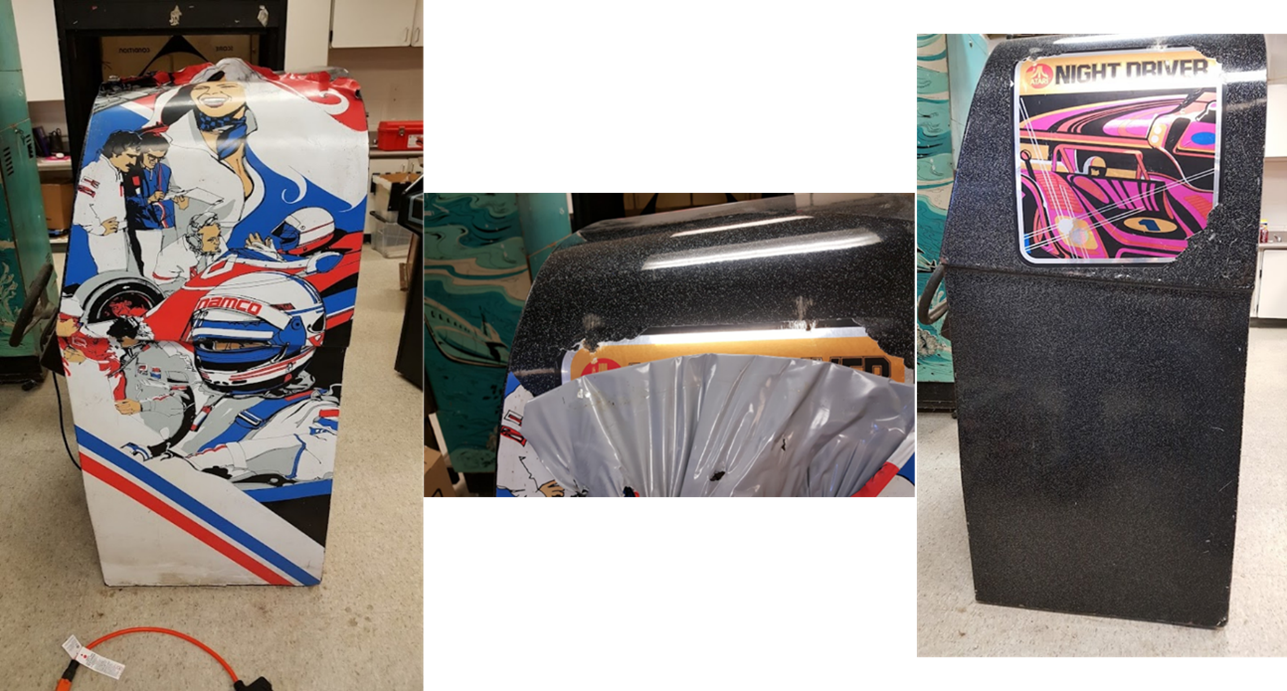
Figure 1: Peeling off the Pole Position stickers. What a mess!
- Stripped out the power supplies, including THREE old switchers AND the transformer at the bottom of the cab. I would have liked to use the latter, but honestly, it looked in pretty rough shape, and I felt going with a more modern supply would lead to a more reliable system (see later in the doc).
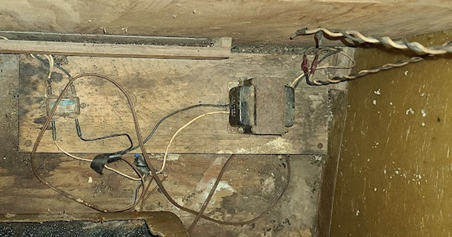
Figure 2: What was left of the original ND power supply at bottom of the cabinet.
- Pulling the knock-off boards and related harness, which had nothing to do with ND. I actually figured out what board set it was by pulling roms and using Romident (thanks Mr. Hamster!).
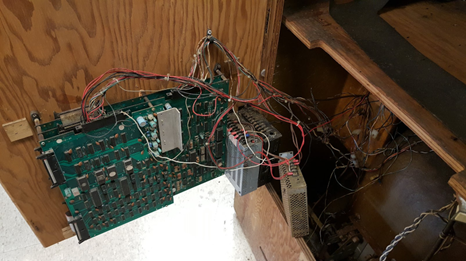
Figure 3: The horror inside the machine. A Top Racer board stack, accompanying odd harness, three (!!) switching supplies, and a world of hurt…
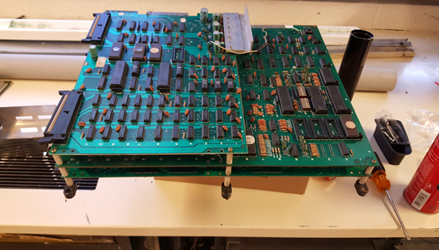
Figure 4: Top Racer board set. Note how it looks so different than a normal Pole Position!
- Pulling the color 19” G07 (which didn’t work).
- Pulling the shifter panel, which had an aftermarket two-position shifter fit into it. Also pulling the steering wheel and control panel, which had some serious weirdness (see later).